I learned how to gather different
gradients and text to create a flyer for salsa. Using the information I knew I put them
on a background coloring my title using crazy text, my information plastic
text. I added a picture and put wepa
in glass text.
Today i learned how to use lasso to outline my suit. then i took a picture from the internet to copy and paste on my suit. i put my original and published together and the actual design next to it to finish.
Today i learned how to use unhealthy food topics and turn it healthy. I used copy, paste, select all, and transformation to bring the healthy food to the unhealthy topic. i put a slogan and customized my picture with color and shadow. last I put the food bank logo and writing message to bring this poster out. this helped me put grapes in a fried chicken bucket.
I learned how to copy and paste a brick and flag layer to one page in order to make an image of it together. Basically filter is used in order to disort or displace the image. I faded the brick wall into the flag.
In this project i learned how to use my flag layer in order to put it on top of my selfie layer. i used disort and displace for the image. I faded my picture into the flag and making it look like a mask.
#15: Smart Filtering with Motion Blur
why smart filter? what is the difference between normal and smart filter?
In motion blur i used blur and Gaussian blur in order to make my whole picture blurry.
The paint brush was used to go over the car. Now my background is blurry and my car seems like it is moving in motion. I used smart filter instead of normal because you have more control of what you want to keep or eliminate.
#16: Quick Masking to add a desire effect
what is quick Masking? why bother if I can just select with marquees or lasso tool?
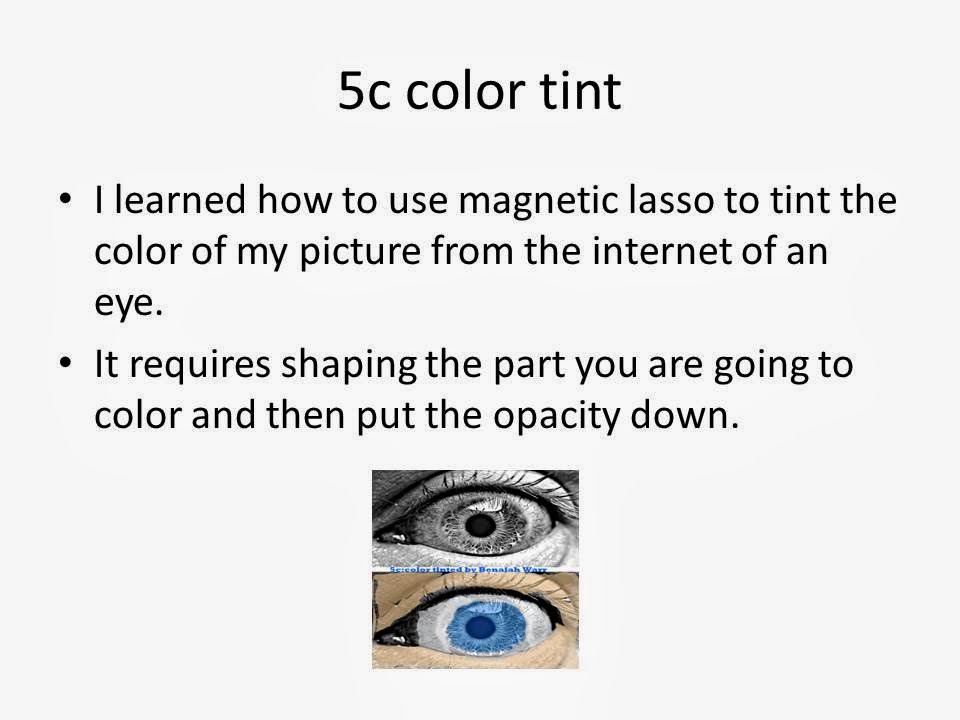
In this project i used quick mask to select the eye area of the lighting of my lion. So using quick mask helps me choose the shape and define the specific shape of the area I'm coloring of my picture. With lasso or marquees it is one specific shape you use.
#17: Soft Filtering Skin tones.
we added a couple of things to the original picture to get this "glow" - what were the they? and what and at what layer did you take away to create the final effect?
In this project i learned how to use and add Gaussian blur and layer mask in order to brighten and glow the features of my picture. I took part of the layer mask out so the features were not blurred out.
I learned how to create a USB by using shape tool in order to make my shapes. I used line tool for this flash drive and shades to help this illustration pop.
In this project i used line and shape tools in order to create my last name. i used polygons i rotated and played with the shapes. I swirled some of these figures.
Using pathfinder I used circle and rectangle. I then split the circle by using a rectangle for it and dividing. Round corner rectangles were involved also with a circle covering it ,this would help me practice.
During this test I learned how to use gradient sliders in order to put a nice shade in the color for the objects for the phone. I used ellipse tool in order for me to create circles inside my phone. The buttons were created by round corners of a rectangle tool with the letters on it. RGB color was used in order to give the right color to my objects in order to make it pop. I created the battery and antenna as major details to make the phone look real. As a result my phone would become a nice project.
*******************************************************
2nd Marking Period Reflection
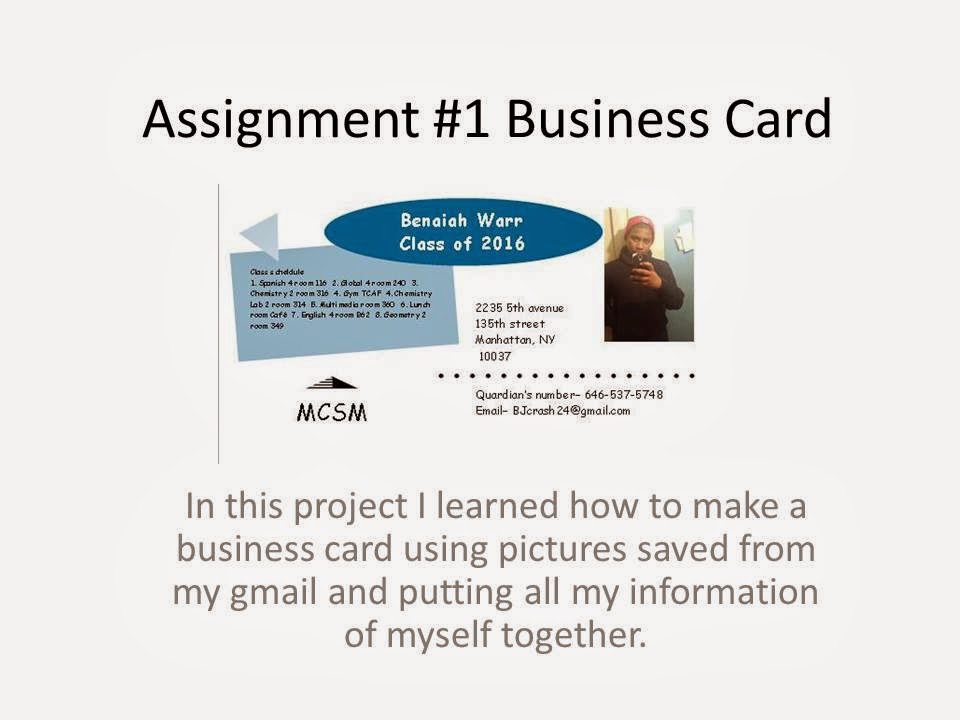
In assignment 11 I made a flyer for salsa club using plastic text, crazy text and glass text with the information.
In assignment 12 I used lasso to outline a suit and put it the design of the stars and sky I got from the internet.
In assignment 13 I used copy, paste, and select all to bring a healthy food to a unhealthy topic.
In assignment 14a I put a brick as my background and used filter during putting the american flag over it.
14b was similar to 14a but just putting my selfie as my background.
In assignment 15 I used motion blur and guassian blur to make a car look like it's in motion and driving.
In assignment 16 I used quick mass to highlight the shape of a lion's eye I wanted to color.
In assignment 17 I used guassian blur and layer mass brighten and glow my picture.
In 18 I used shape tool and shades in order to construct and finish a USB flash drive.
In assignment 19 I learned and played with shape tools to create my last name.
In 19b using pathfinder I used rectangles to split the circle also I learned how to use round corners.
During the phone test I used gradient tool, rectangle tool, round corners, ellipse tool, RGB color, & shades.
All marking period I finished my projects and did my work.


 \
\